With PayMe Forms you can quickly and easily create forms to accept credit card payments online. All you need is a Stripe account. This tutorial will show you step by step how to connect Stripe to PayMe Forms and to create your first payment form.
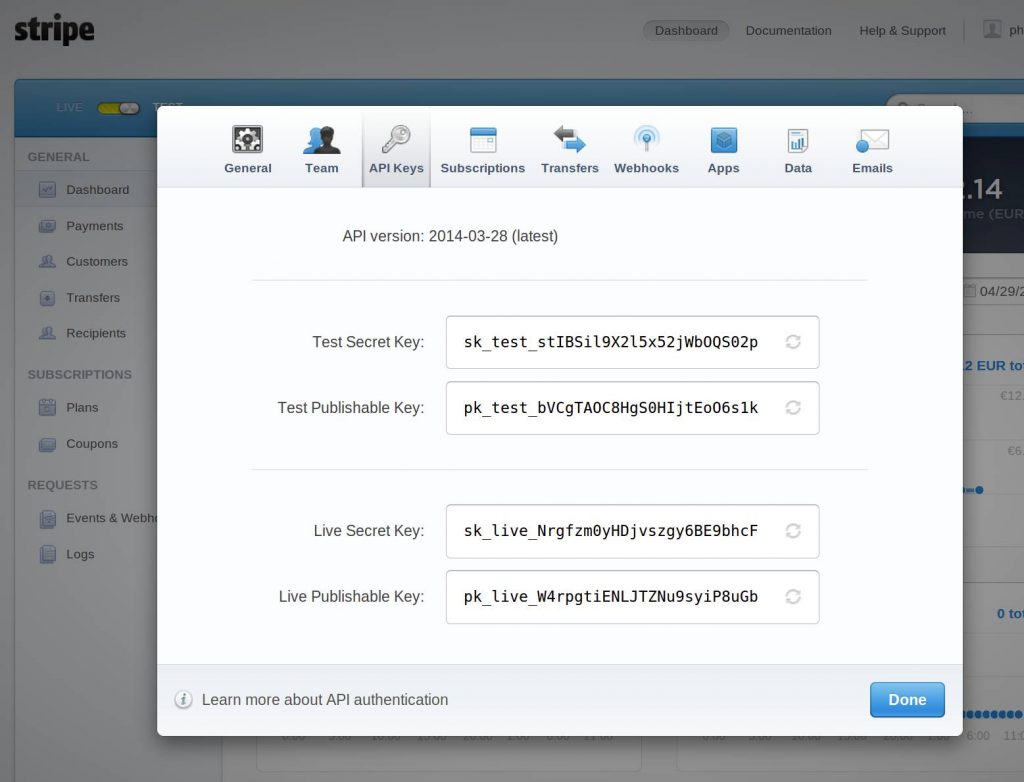
Step 1: Connect your Stripe account. This is extremely easy. Head over to Stripe.com and login to your account. On the left hand side click API. You will see two sets of keys, Test Keys and Live Keys. Test Keys are used for testing (you can toggle Live/Test switch in your PayMe dashboard) and when you are ready to go live and accept real payments by switching toggle to Live ON, PayMe will use your Live keys.
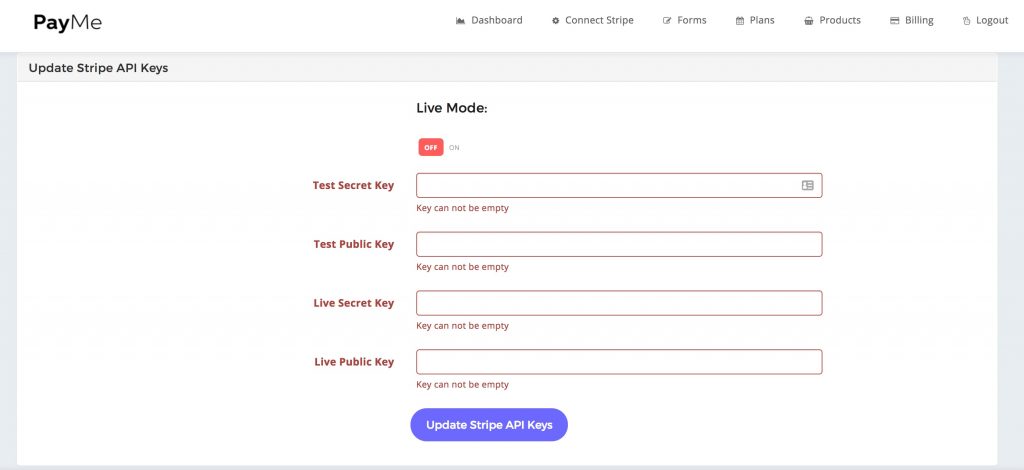
So please go ahead and copy all 4 keys and insert them into appropriate fields in PayMe Connect to Stripe section.
Here is how the screen with your API keys looks like in Stripe:
This is how PayMe Connect Stripe panel looks like. Simply copy these keys into appropriate fields and press Update.
Once this is done it is time to create your payment form.
Go to Forms and Press – Add a New Form button. You will be presented with this screen.
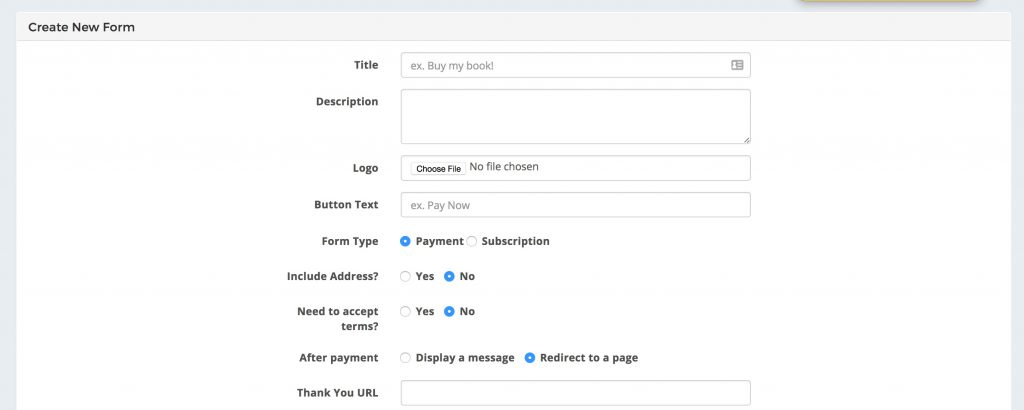

Let’s review all fields one by one.
Name: simply enter the name of your form. It will also appear as a headline on your landing page.
Description: this text will appear under the headline. Write something that tell your customers about your service or product.
Logo: upload your company’s logo to be displayed on the form page.
Button Text: this is what the Submit button will say. Examples: Pay Now, Subscribe, Sign Up Now.
Form Type: here you can select which form you want to create subscription or payment. In this case we are creating a payment form.
Include Address: Would you like to collect the customer’s address? Click Yes/No to show or hide the address fields.
Accept Terms: you can choose to let your customers accept your Terms of Service. If you choose Yes, a new field will appear where you will be able to provide a URL to your Terms of Service page.
After Payment: Where would you like your customer to be taken after payment? If you choose message, your custom message will simply be displayed to the customer or you may choose to redirect your customer to a custom URL. In this case, choose Redirect option and provide your Thank You URL destination.
Form Design: Choose the design for your form. We are constantly working on adding more designs and layouts for our forms. Choose the one that you like the most for your form.
Currency: Choose the currency of the payment.
Payment Amount: This is where it gets interesting. Since we are creating a Pay What You Want form, we select the third option. With this option the payment amount is not predefined but your customer can actually enter the payment amount. This can work great with donations, pay what you want services and products, or even with invoice payments.
Make sure you fill out all of these fields and provide valid URLs. For the amount enter 19.98 as 19.98 not 1998.
Once everything is done press Create a Form.
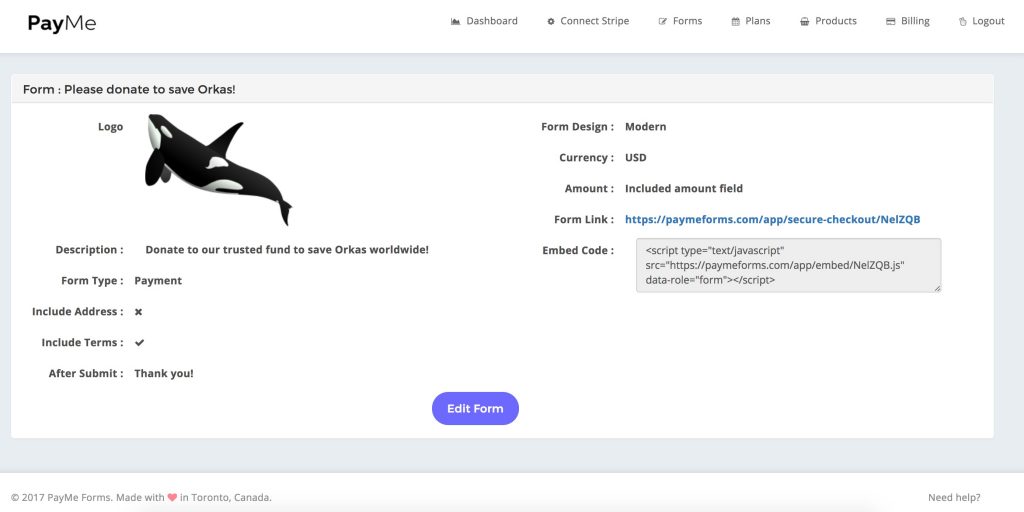
And here is your new form. Done! See how fast that was.
Now let’s share your form. There are two ways to start accepting payments with the form.
First one: Sending someone a link.
Second one: Embeding it into your website.
To share your form using a simple link, copy and paste a Form Link into email, direct message, SMS, Instagram or your website. It is quick and easy
The second option is pasting the Form Code into your website HTML editor to display your form on the page of your website. This works great with WordPress, Wix and any other website builder. Just make sure you use HTML editor and paste the code into an HTML field. Also it is best to paste the code into a full width page.
Here is how your customers will see the form:
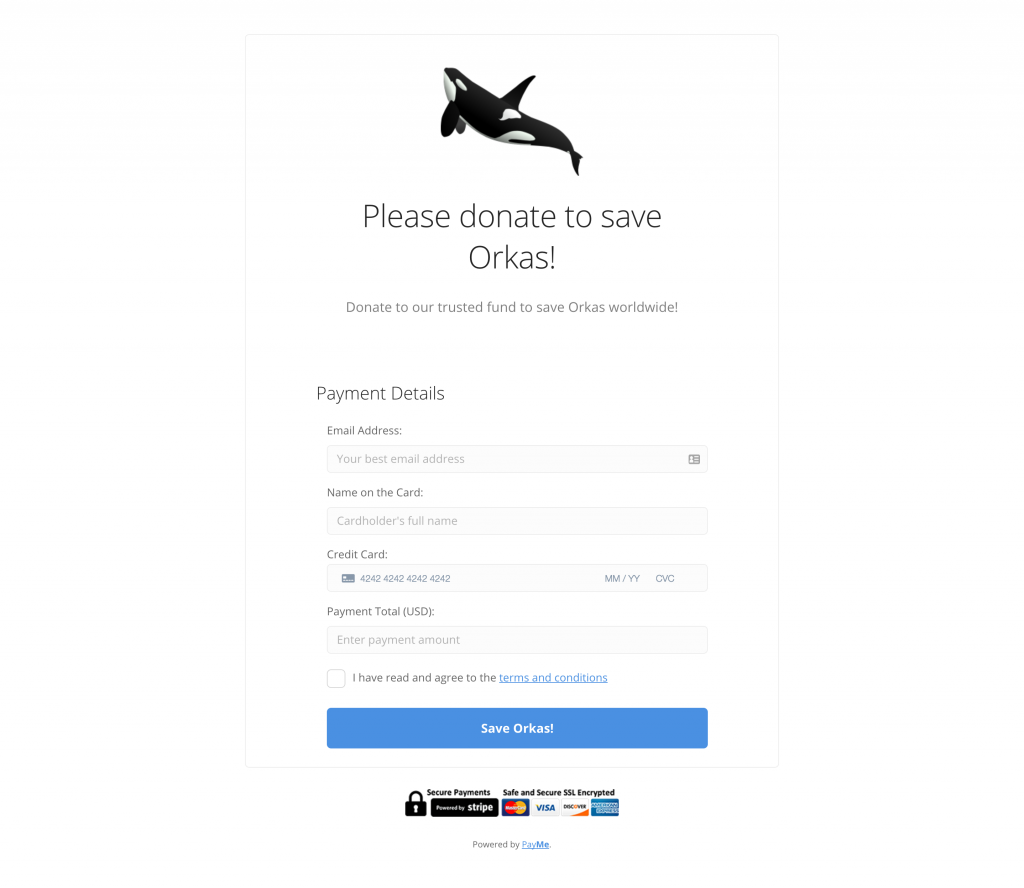
Pretty cool!
So here we are. We just created a simply payment form with Stripe and PayMe. Start accepting payments online in 3 minutes. Start your FREE trial.
About The Author: 5030nog
More posts by 5030nog